How To Inspire Your Child To Begin Painting On Canvas
![]()
- Posted by abrakadoodle.com.sg
- Categories Painting ideas for kids
- Date 27 January 2022
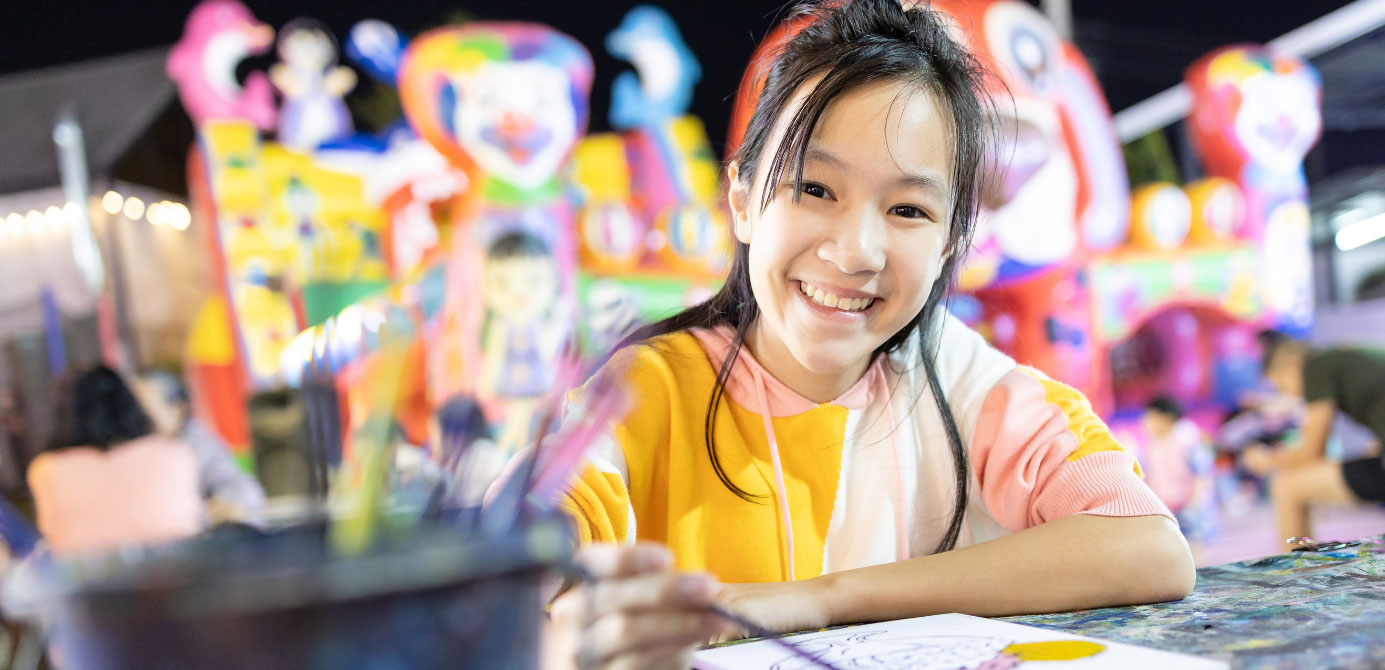
Painting impacts the psyche and body in equal measure, especially in the case of very young children. Canvas painting ideas for children triggers creativity, engages imagination, and has a calming effect. Painting is also a repetitive technique that helps establish rules, lines and patterns. Creating a stable space and activity for children to relax, explore and have a sense of control in an endlessly chaotic world.
Painting on canvas is a wonderful activity to nurture curiosity, indulge in creative exploration, improve skills, increase the confidence levels and develop cognitive skills. Never mind if your child has not painted on canvas before, there is always a first time.
Children may find painting on canvas a little overwhelming at first, but with practice they will find it as exciting as when they initially started playing with colour using their hands. So set your doubts aside and just begin. Unlike paper or hard board, painting on canvas will introduce children to a whole new dimension that they can explore and learn to work with.
Table of Contents
ToggleMake the right start
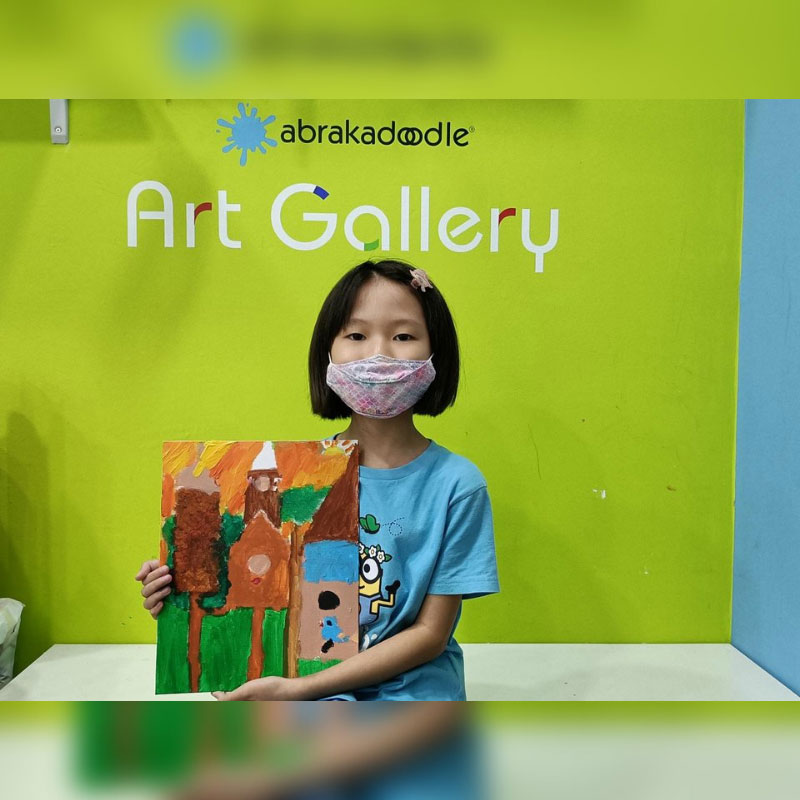
Like everything else, your child will learn better and faster by following a step by step painting instruction process. In fact, participating in children’s art programs will trigger amazing discoveries and unexpected experiences that will surprise you. Your child will also begin to feel more confident about what she can do and achieve.
With so many painting materials and mediums available, it can sometimes be difficult to make a decision about choosing the right one for your child. Canvas on the other hand is an easy choice to make and nothing comes too close to the eagerness and the sense of anticipation a growing child will feel as she lays the paintbrush on canvas for the first time.
To make a right start, buy a few basic art supplies like canvases, and student grade acrylic paints. This kind of acrylic paint is thick, flows and blends smoothly and dries faster than oil based paints do. And don’t forget to select a few brushes: pick a ¾” flat wash, a 12 bright, a 4 round and a scruffy bristle brush. These will be available at any art material store in town and inexpensive as well!
Preparing the canvas
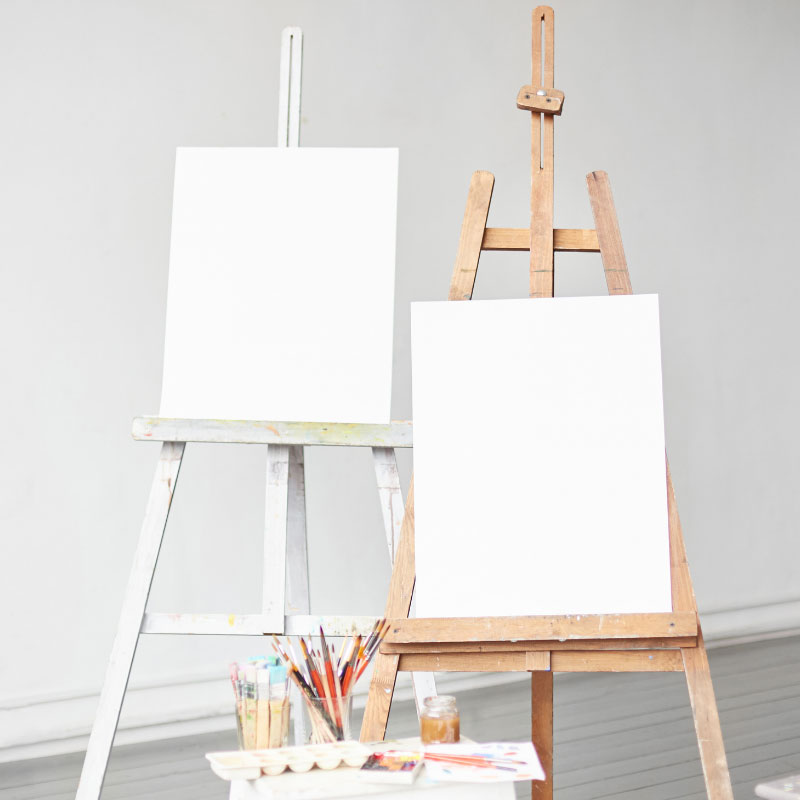
The first thing you will have to do when wanting to learn painting on canvas is to prime it with ‘gesso’. An ideal primer helps prevent the canvas from turning yellow. It also creates a smoother surface for the paint to adhere to and totally eliminates the chances of the paint being absorbed by the cotton fibers of the canvas. More important, primer ensures that whatever your child chooses to paint will age well.
Follow this up by covering the entire canvas with a single tint of colour. During the beginners’ stage, applying a toned ground with an opaque finish works best as it stops the acrylic painting from looking too ‘watercolour-ish’.
Toning the ground is a must
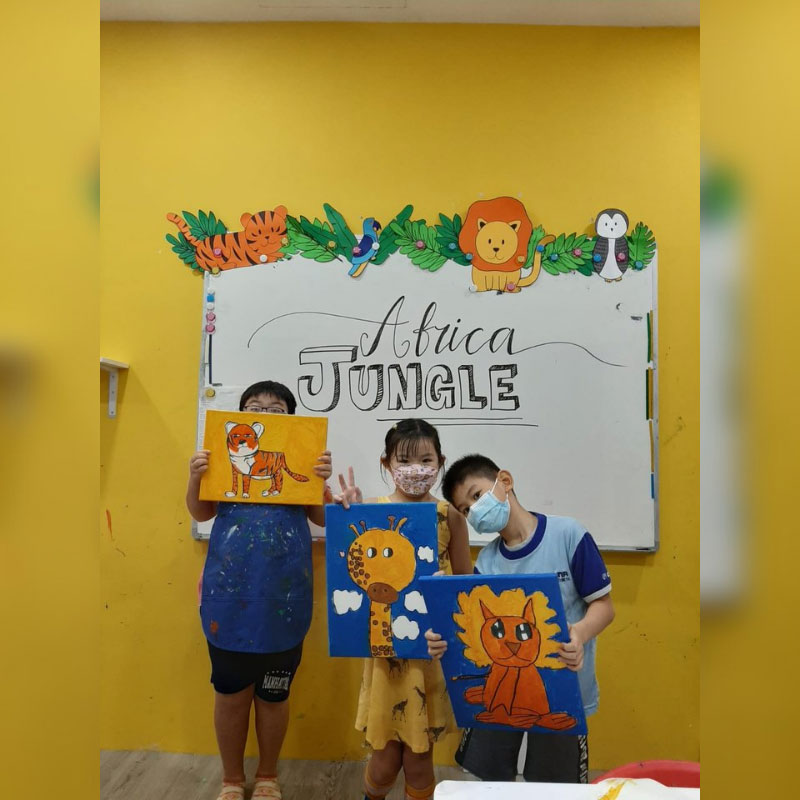
A coloured ground helps make a number of fantastic things happen. To begin with, it makes the finished painting look more professional, increases the speed at which you can create the artwork, and can help add mood to what you will want to paint.
For an absolute beginner, Yellow ochre works well when you want to paint a landscape, a tabletop or a self-portrait. When you use the Yellow ochre straight from a tube, the intensity of paint might seem too strong. To mute it, just add a little Titanium white to it. It will give you a colour close to Naples yellow — this colour range from an earthy, reddish yellow pigment to a bright light yellow.
Coloured grounds instantly create the kind of mood you want your painting to have. Sometimes less can be more. Especially, when you limit your palette and are wanting to create a sense of style and feel that is uniquely your own.
Begin with an easy to do the painting first, and as your child becomes more comfortable working with acrylic paints, you may then begin introducing more complex subjects and techniques that will enhance her skills. It will also help when you and your child paint together, side by side. This way, you can demonstrate every step and ask your child to repeat what you do.
Techniques you can exploit
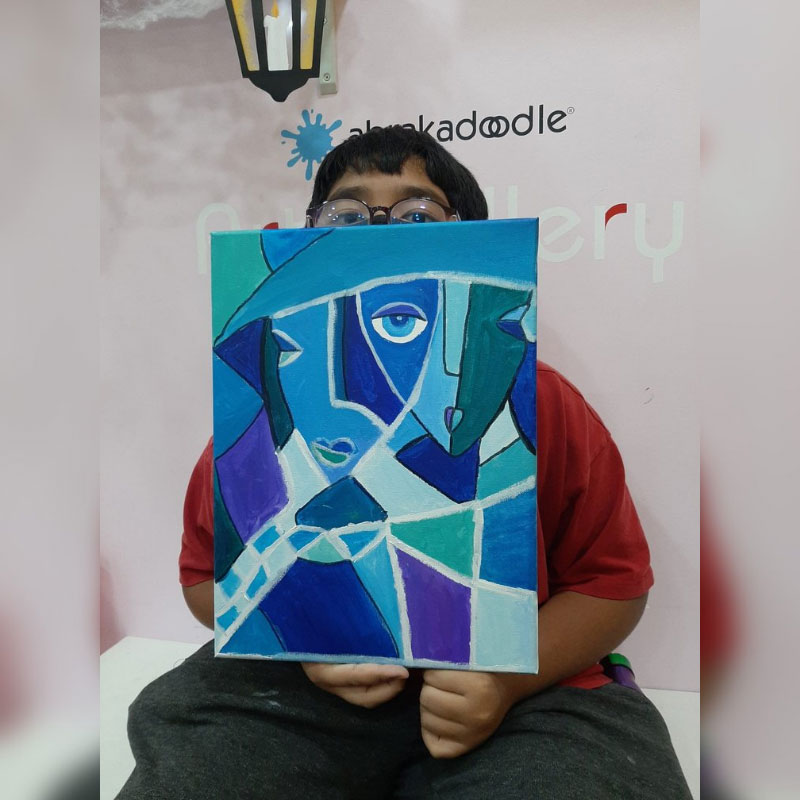
After a few practice sessions and after experimenting with what it will be like to work with acrylic paints, focus on giving painting on canvas a boost. There are a number of incredibly wonderful techniques that ensure that no one ever gets bored. Take the opportunity to experiment.
Here are a few techniques that will be of great help in turning your child into a little master pretty quickly:
Technique 1 – Chiaroscuro
Chiaroscuro in Italian means playing with ‘light-dark’ shadows. In paintings the description refers to the clear tonal difference, offering a significant contrast between the lighter and darker aspects of what is depicted in a painting. You can add drama to a piece, by bringing the subject right up front and into the foreground just by varying the intensity of light, or create an illusion of 3D! You can begin to perfect this technique by using a lamp focusing its light on a single spot and start to work outwards from there. Rembrandt and Caravaggio were masters of this technique. You can learn a great deal just by studying their works.
Technique 2 – Scumbling
Beginners will find Scumbling an easy way to add texture by using a dry, stiff brush and applying thin layers of paint over an already existing layer of paint. It is something akin to applying a layer of medium to the final coat of paint and then blending it in to soften the look of the paint later. The result gives an awesome look and feels to the painting. Instead of a smooth, and continuous finish, there will be some parts of the underpainting showing through. Turner was a big fan of Scumbling.
Technique 3 – Alla Prima
When pressed for time, you can switch to a welcome technique called Alla Prima. This literally means painting layer over layer, and not waiting for the earlier layer to fully dry. This technique is ideal for beginners to focus on and practice as much as they can. The biggest benefit of this technique is that it allows learners to closely study and explore in detail almost every brush mark and colour streak found within a painting. Using this technique, Van Gogh and Monet could easily finish their masterpieces in just one sitting!
Technique 4 – Glazing
Glazing creates incredible effects by blending light and dark tones and increasing the luminosity in a painting. It will be of great help for beginners when they master this technique. By applying a thin, transparent layer of paint over a denser opaque layer, you create a glossier finish. It literally makes the painting glow with a bright sheen. You will find this technique used with great effect in many of Vermeer’s work, the most impactful being the painting titled “The Girl with a Pearl Earring.”
Technique 5 – Underpainting
Nothing frightens a beginner more than a blank canvas, they are so petrified that they hesitate to even apply colour. The aim of Underpainting is to minimize and eventually remove this fear factor completely. The idea is to ‘sketch’ the subject in a single layer of paint and block out the entire background. Underpaintings is usually monochromatic in nature and leave the artist with a choice to define colour values later. The painter also knows where exactly to apply the colour at a later stage of the creative process. This technique is extensively used by Jan Van Eyck and Giotto.
Technique 6 – Impasto (Texturing)
Impasto technique is when you apply a thick layer of paint to give the painting a textural dimension. Such layers have an imprint of a brush or palette knife embedded in the paint. Impasto is also a great technique as it helps the artist add an extra dimension to the painting. However there is a problem artists confront when using this technique – the outer layer dries out first while the inner layer of paint remains wet. To overcome this, artists use a little trick that always works — they mix sand or marble dust to their paint. When the sand is coarse, the painting looks crumbly, while fine dust gives paint added elasticity. Artists can create a streaky effect within the paint as they spread it across with a palette knife.
Technique 7 – Grisaille (Monochrome)
In the Grisaille technique, the artist limits the palette to just one colour such as grey and uses this shade to create a painting’s first layer. The artist then develops the image further by adding shadows, highlights and details to create the illusion of an object in three-dimensional space. Once this Grisaille is ready, the artist adds colour to it with bright transparent glazes. When done well, the outcome is usually stunning. Take a close look at Vermeer‘s masterpiece “Girl with a pearl earring.”
Art is a window into the mind
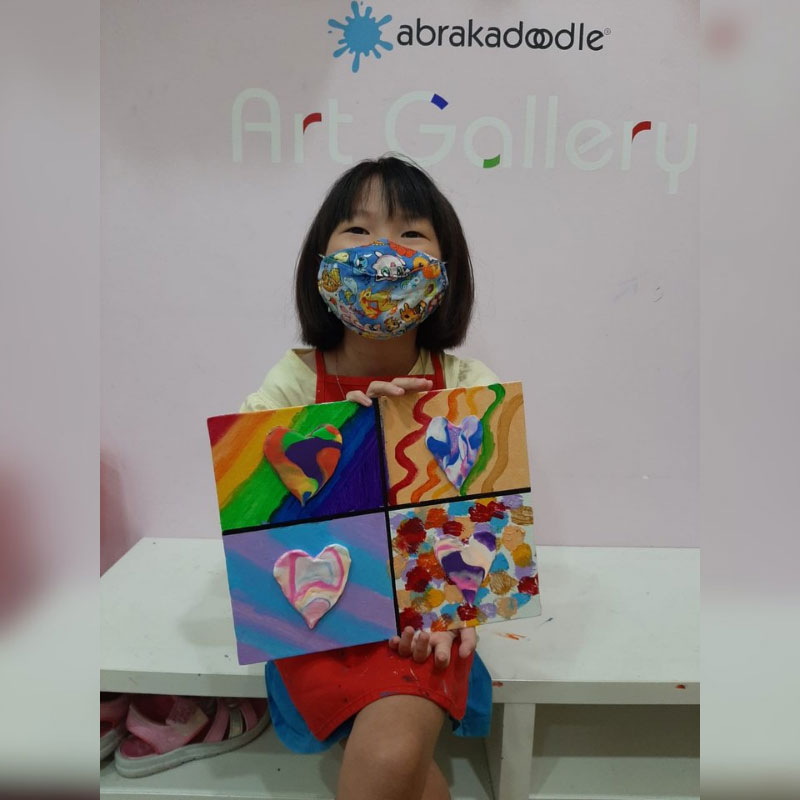
There is no need for age to set your sights on any particular kind of technique your child will work with. If something inspires you and your child, you shouldn’t hesitate to get going with that inspiration. Always encourage practice, and never judge the outcome. And never in negative terms at that.
You will also have to practice together following simple steps and get ready to let your child’s artistic-self soar. Remember, whatever your child might create, it will be impressive, eye-catching and unique to her!
About Abrakadoodle
This is the kind of process art learning experiences we use to inspire children to think different, be innovative, and devise ways that teach about interesting things found in the real world. Changing the way children discover and imagine. Ignite their minds to think, play and learn like never before.
If you like to enrol your child in our children art classes or participate in cognitive learning activities, give Abrakadoodle a call. Or better still, make an appointment with the head of a centre near you. Get a hands-on exposure to an experience that will make you see art in a way that adds value to life.
You may also like
Simple Acrylic Painting Tips For Beginners

Made To Measure, Homemade Paint Recipes
